It’s soup season! This week, I’m making a double batch of my favorite Roasted Cauliflower Soup.
This soup is creamy and smooth. It combines flavorful roasted cauliflower florets, roasted garlic, cream, and lots of aromatics.
This roasted cauliflower soup is make-ahead and freezer friendly, so make a big batch and enjoy it all season long. It is so delicious!
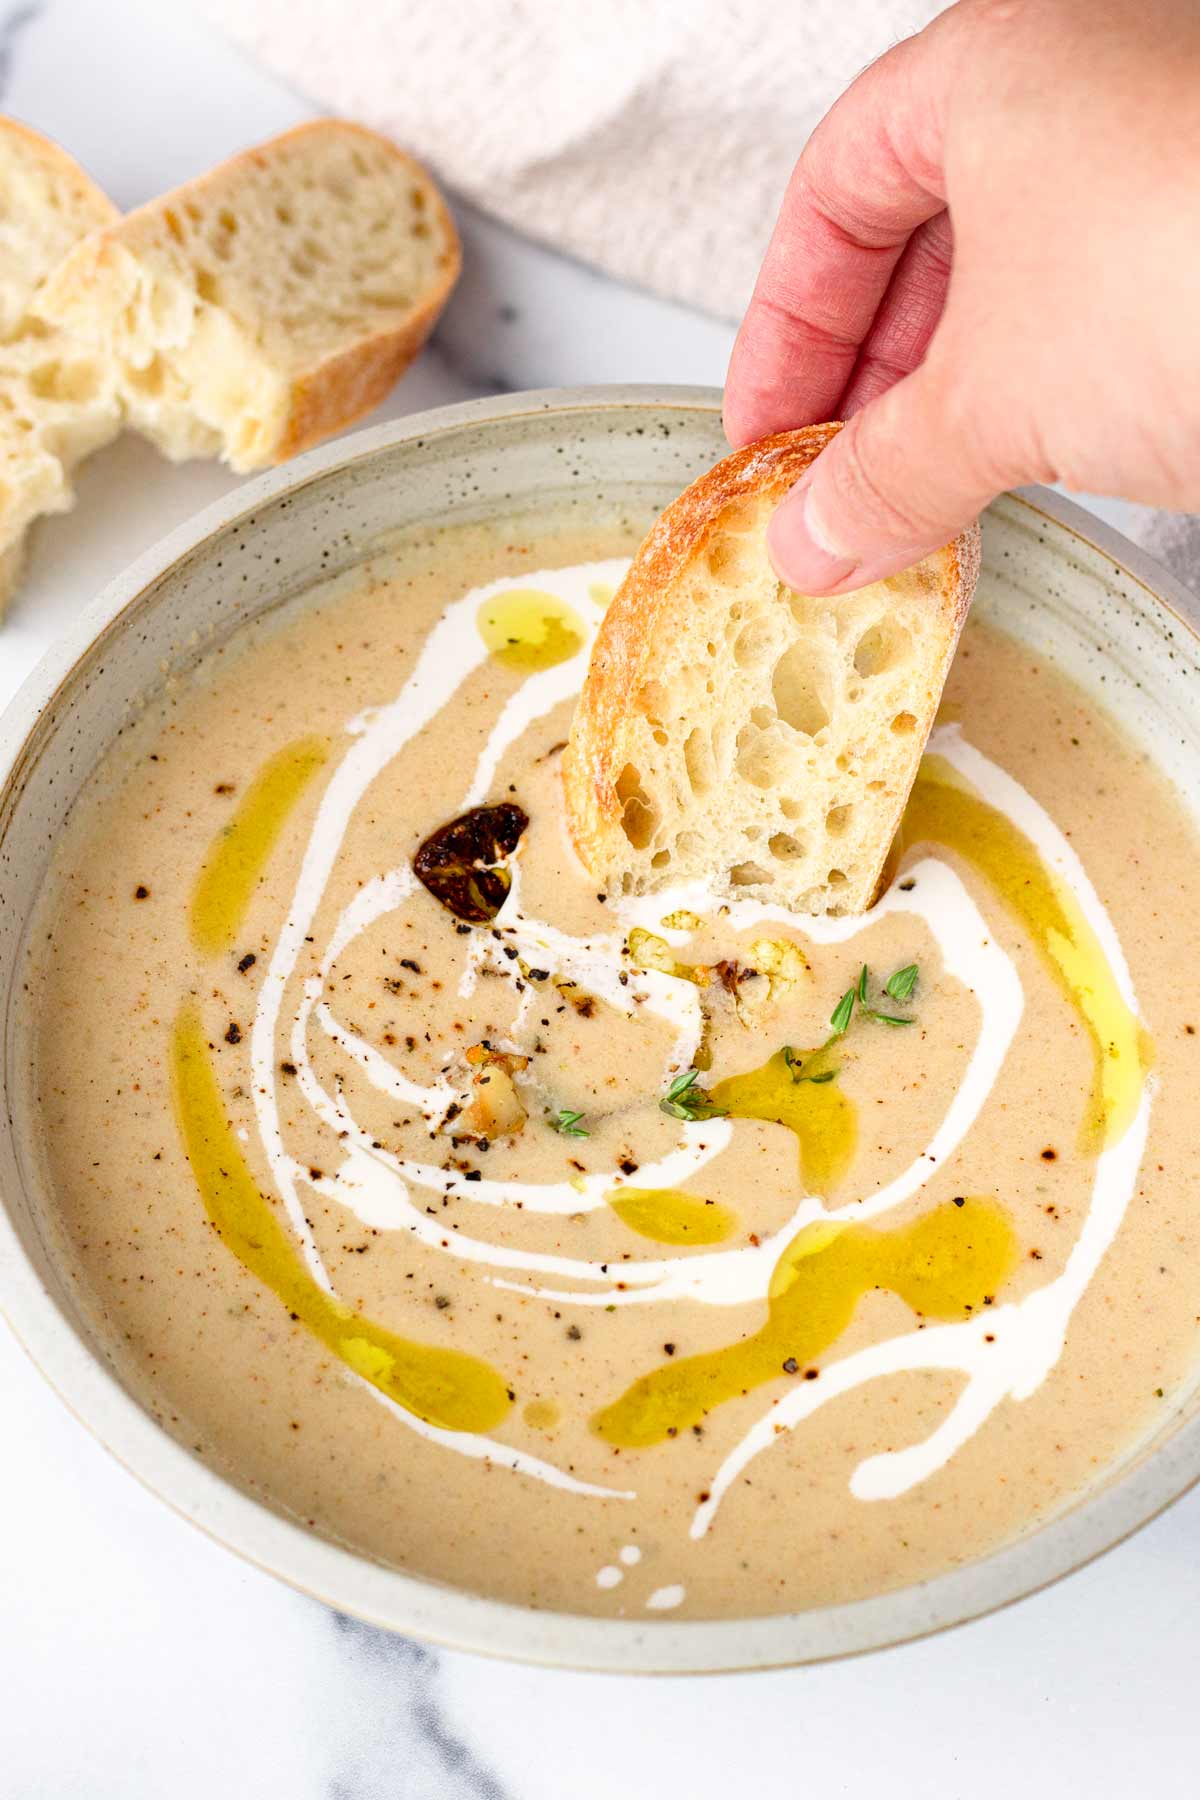
The weather forecast says it’s going to snow quite a lot this week, so I restocked my fridge to make comforting soups to keep me warm.
First soup for the week is this flavor-packed roasted cauliflower soup! It’s such a creamy and smooth soup with the perfect consistency.
What makes this soup so incredibly delicious is roasting the cauliflower florets and garlic. Roasting intensifies flavors, which is important for making a flavor-packed soup like no other.
If you’re into soup season, give these creamy soup recipes a try: Cream of Asparagus Soup, Cream of Broccoli, Turkey Wild Rice Soup, and Potato Corn Chowder.
Looking for a lighter option? This Lentil Kale Soup is my go-to!
Why we love this creamy roasted cauliflower soup recipe:
- Super flavorful: Prior to blending, I roast the cauliflower with spices to bring out its best caramelized flavor. I also roast a whole head of garlic for a nice boost of flavor.
- Creamy, thick, and smooth: Cauliflower is the perfect vegetable to make creamy soups because of its natural softness and texture.
- Very easy to make. Nothing complicated here.
- Make-ahead and freezer friendly: This is a great soup to make ahead and reheat later, especially to satisfy your winter soup cravings.
Roasting the Vegetables Is Key
The secret to the most flavorful soups is pre-roasting the vegetables. It’s the same method I use in my Roasted Butternut Squash Soup.
Roasting brings out any vegetable’s natural flavor and sweetness, and adds a layer of caramelization which packs tons of intense flavor. When you add roasted veggies and blend them into a soup, it’s like the best thing ever!
For this cauliflower soup recipe, I roast both cauliflower florets and a whole bulb of garlic. Yes, a whole bulb of garlic! Worry not, it may seem like a lot, but it’s not. Roasting garlic removes the strong garlic flavors and results in perfect garlicky, umami-packed flavors.
If you don’t have enough time to roast the veggies, you can pre-roast them up to 2 days ahead and keep them refrigerated until ready to make the soup. It’s that easy!

Ingredient Notes
Below, I included a few ingredient notes that I hope are helpful to understand how each one works to make the most incredible roasted cauliflower soup.
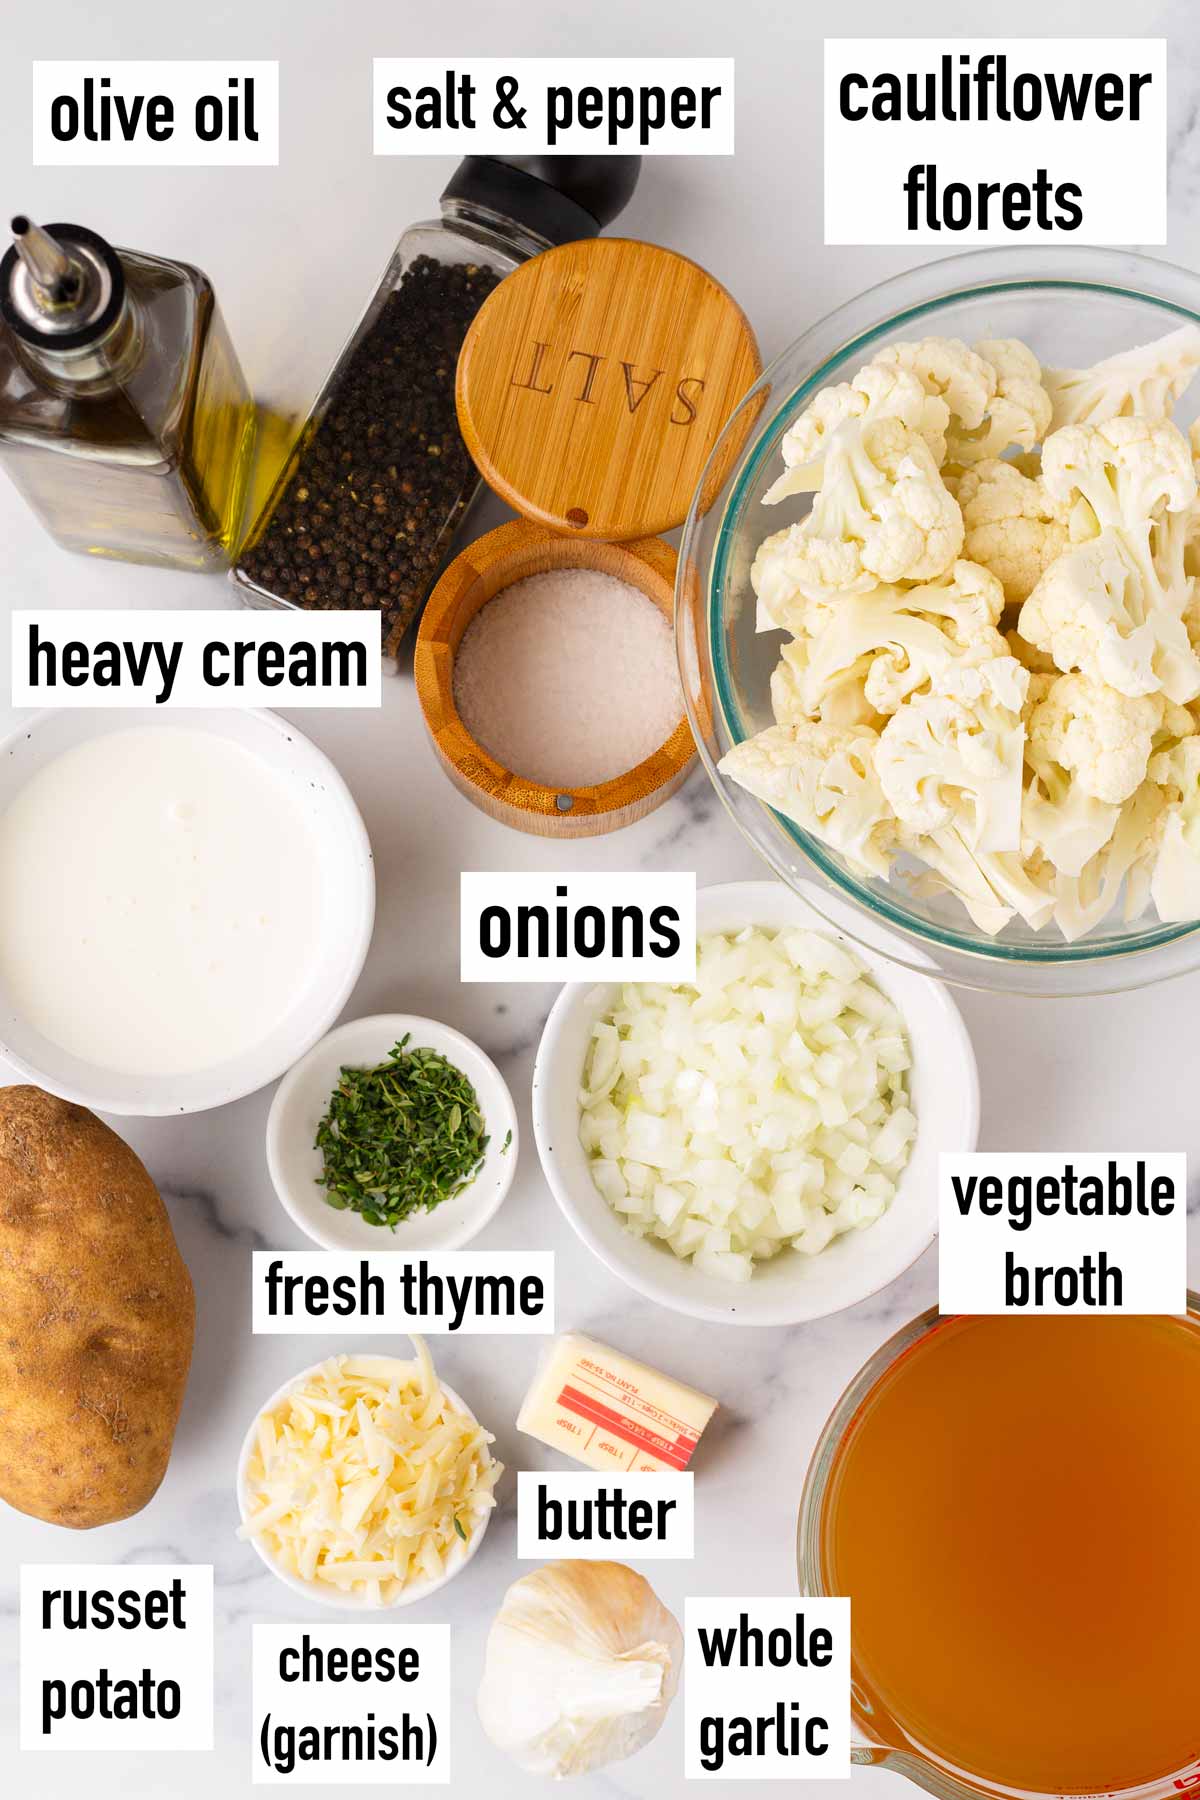
- Whole head of garlic: Roasting a whole head of garlic may seem unconventional, but it’s a game-changer. The cloves soften, becoming mellow and buttery, imparting a robust yet subtle garlic flavor.
- Fresh cauliflower florets: Opt for fresh cauliflower, cut into bite-sized florets.
- Olive oil: For roasting.
- Unsalted butter: Used to sauté the onions and add extra richness.
- Russet potato: For consistency. Adds extra thickness and creaminess.
- Vegetable broth: You can also use chicken broth here.
- Yellow onions and thyme: Both of these provide a fragrant base that enhances the overall flavor profile.
- Heavy cream: For creaminess. It also rounds out the flavors, adding a silky richness.
- White cheddar: Freshly shredded. I use generous sprinkle for garnish, but you can also add more of it if you want a cheesier roasted cauliflower soup. Avoid pre-shredded cheese, which contains added starches that can make the soup grainy.
- Bread of your choice for serving. My favorite is toasted baguette slices.
Step-by-Step Tutorial
Making this roasted cauliflower soup is super easy, and you can even prep some of the ingredients in advance to save time later.
Step 1 | Roast cauliflower and garlic
Preheat the oven to 425 degrees F.
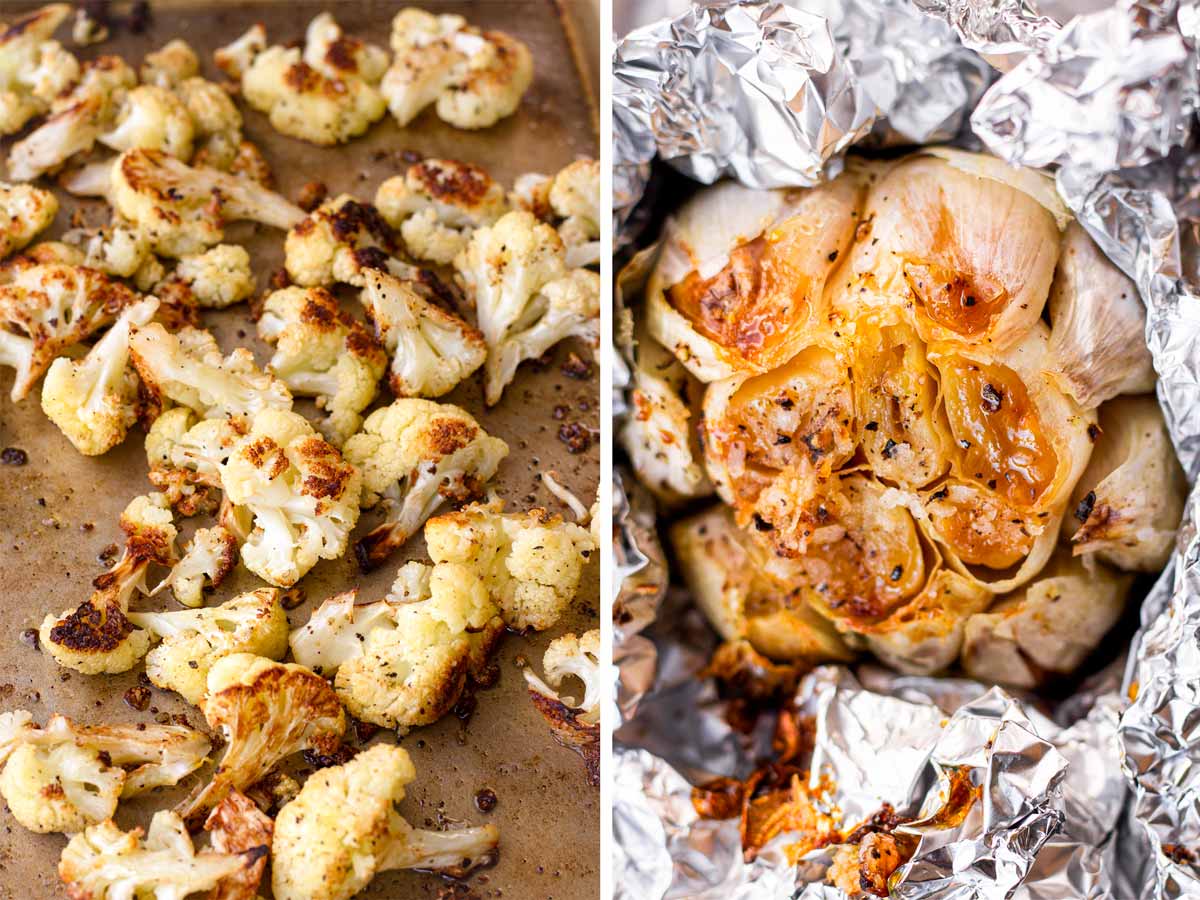
For the cauliflower: In a large sheet pan, toss the cauliflower florets with a few drizzles of olive oil, salt, and pepper. Roast for 30-35 minutes.
For the garlic: Cut off the top of the unpeeled garlic head to expose the garlic cloves. Drizzle the top with 1 tablespoon olive oil, ½ teaspoon Kosher salt, and ground black pepper. Wrap the garlic tightly with aluminum foil, making a sealed pouch. Roast for 40 minutes at the same time as the cauliflower.
Potato: While the veggies are roasting, boil the cubed russet potato until tender.
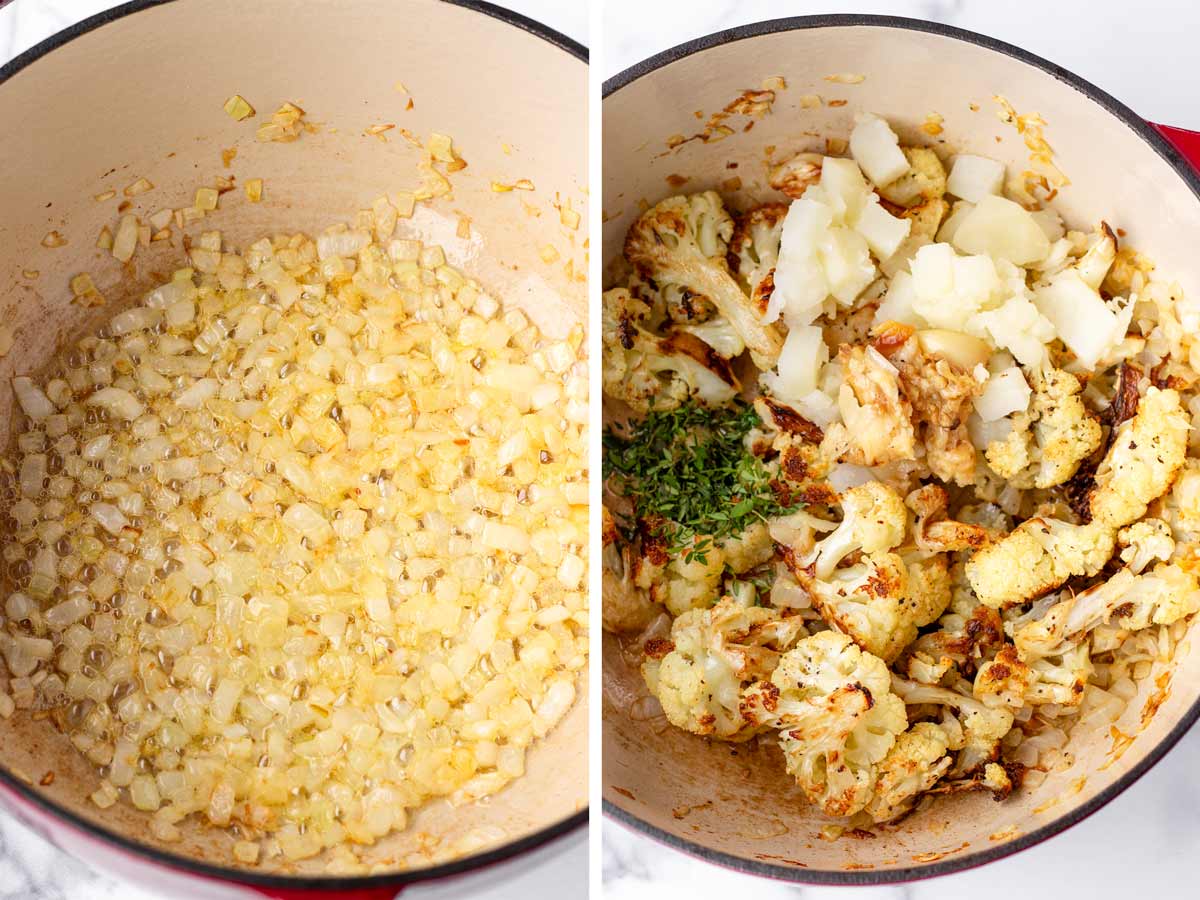
Step 2 | Sauté aromatics and add veggies
In a large pot, sauté the diced onions with melted butter until softened, about 6 minutes. Then, add thyme leaves for another 2 minutes until fragrant. Turn off the heat. Then, add the cooked diced potatoes, the roasted cauliflower, and roasted garlic (squeeze out the cloves and discard the skin). Pour in vegetable broth, scraping the brown bits.
Step 3 | Blend
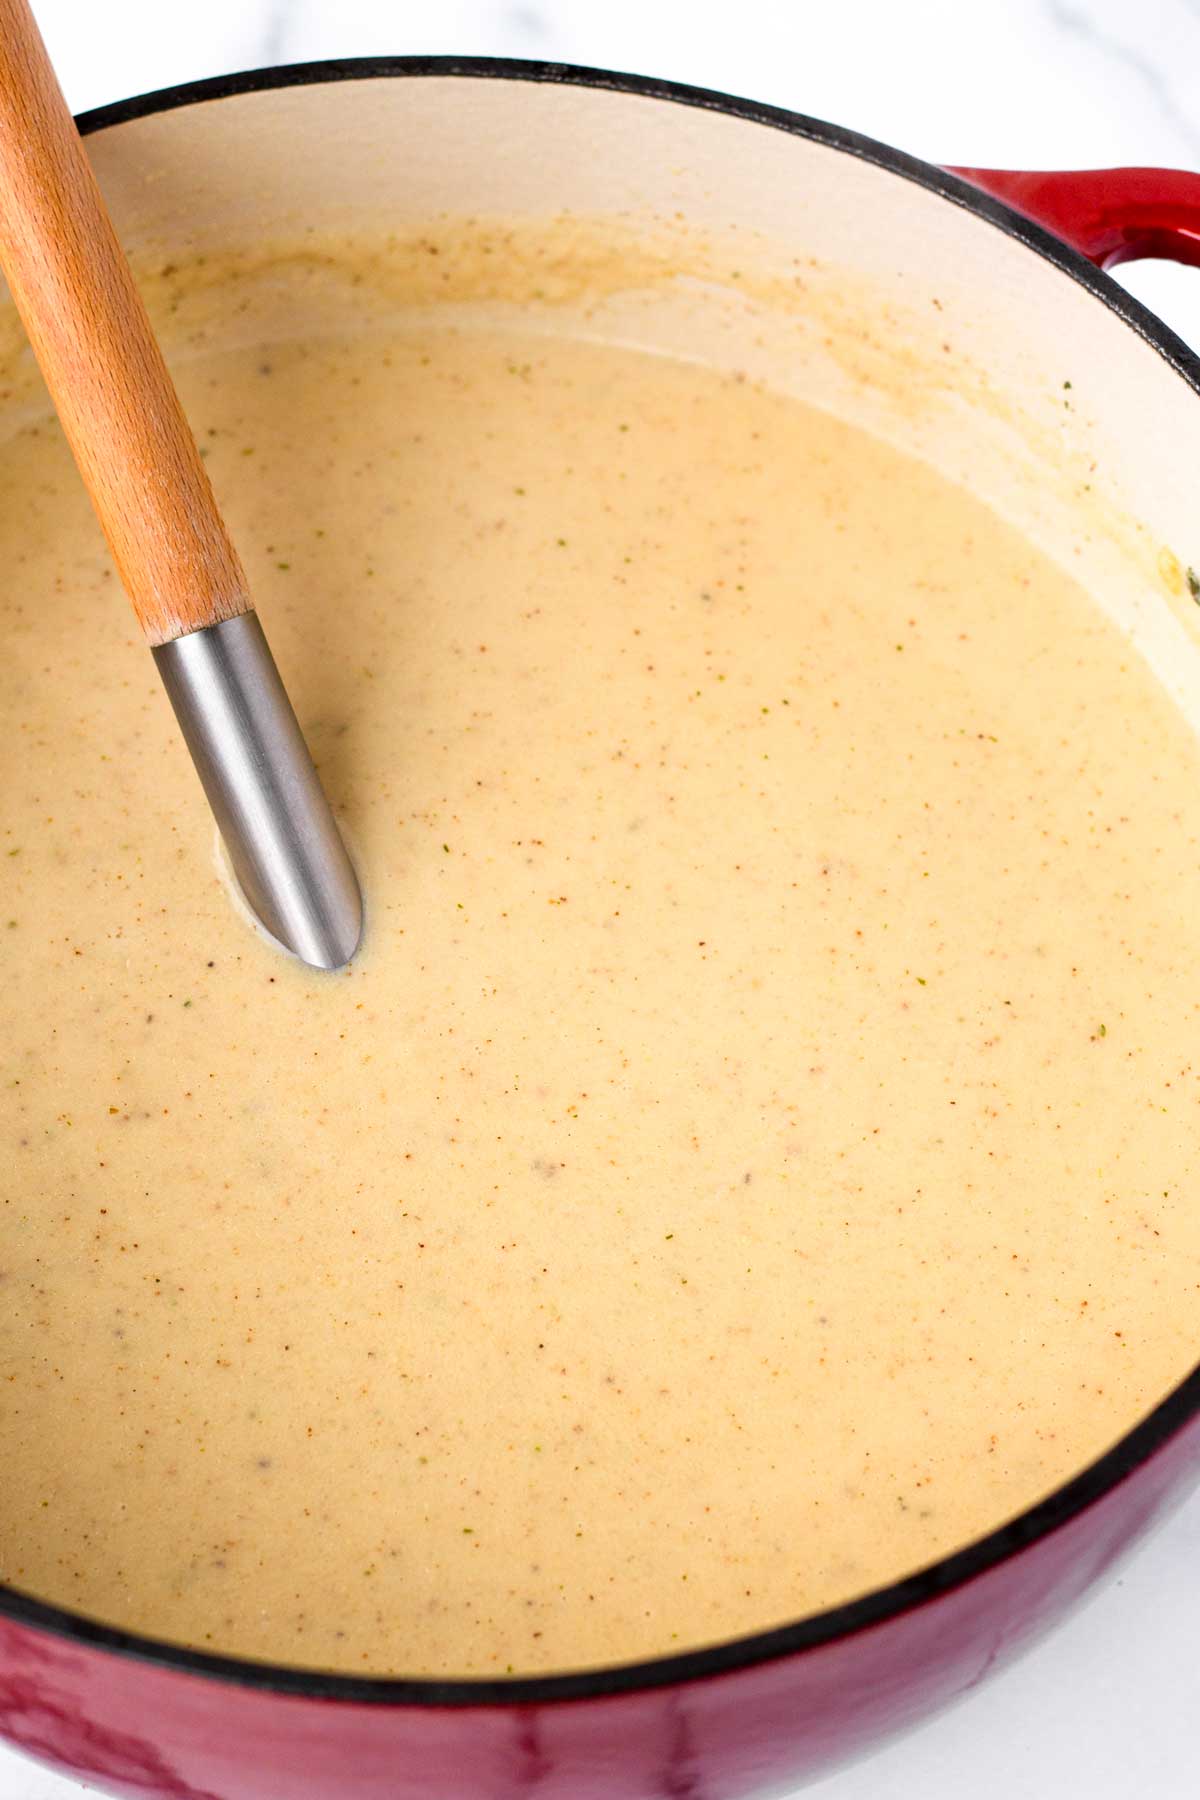
Now, it’s time to blend! You can use either a stand blender or immersion blender for this roasted cauliflower soup, although a stand blender will yield creamier and smoother results in this case. Additionally, because we simmer the soup after blending, the liquid is not hot so a stand blender is easy to use.
Stand blender: Carefully transfer the soup to a blender and blend until smooth and evenly mixed.
Immersion blender: Using an immersion blend, blend everything until smooth.

Step 4 | Finish with cream
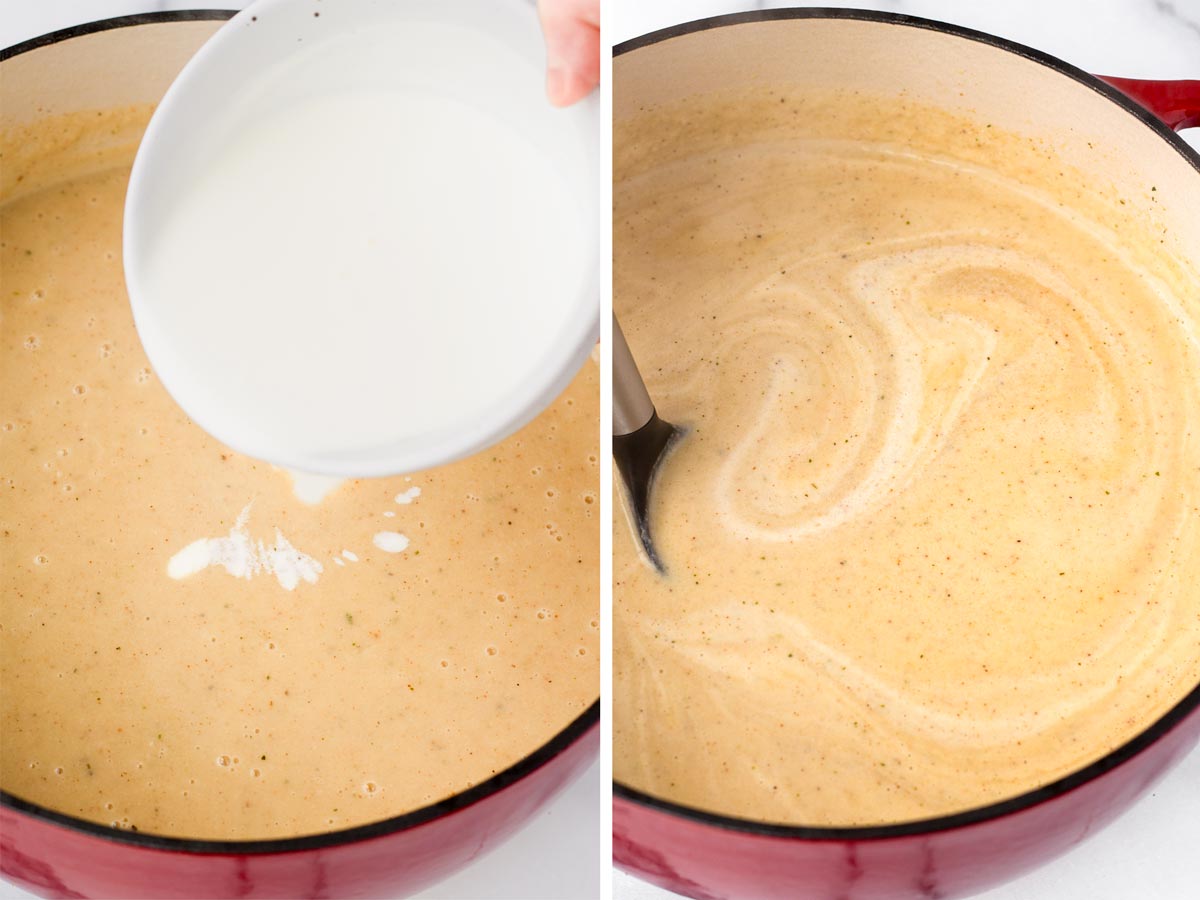
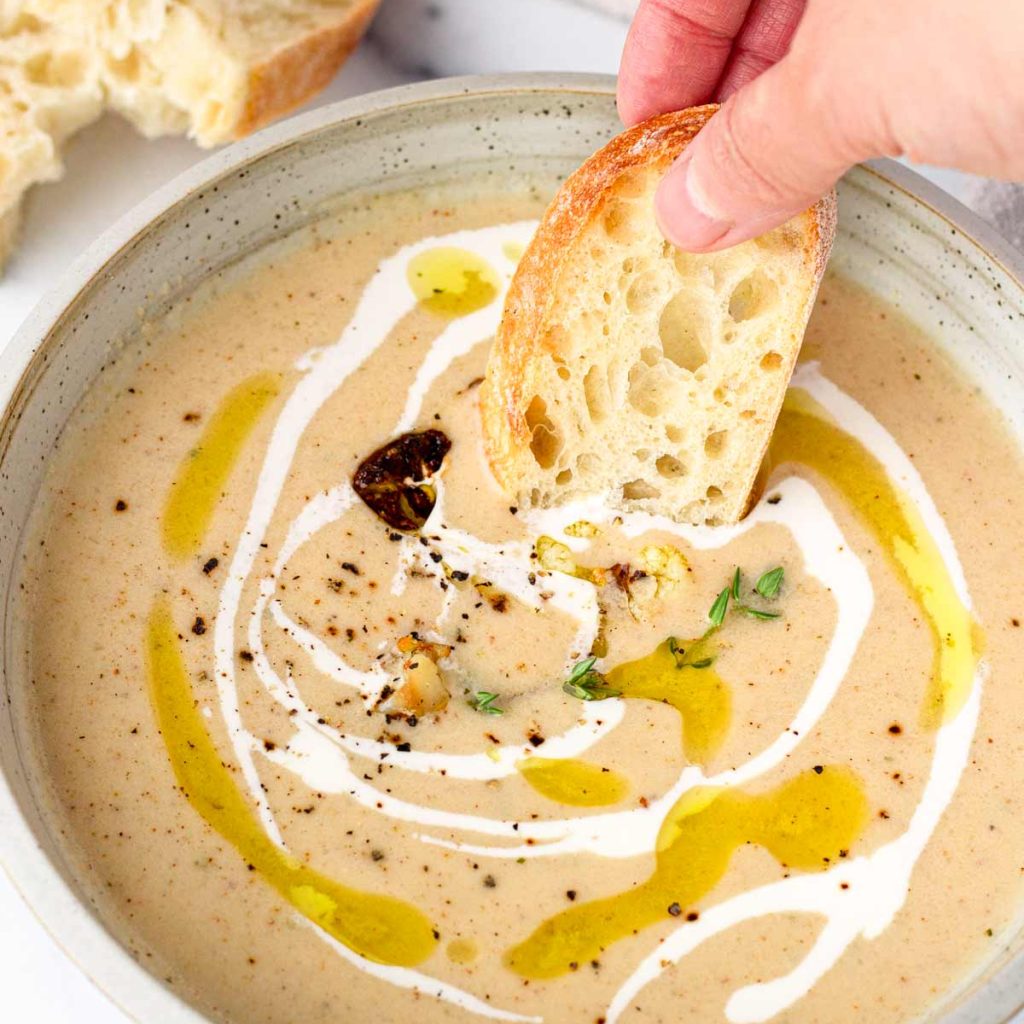
Return the blended soup to the pot (if you used the stand blender) and bring to a simmer for 5 minutes. Season with salt and pepper to taste. Then, stir in heavy cream or half-and-half to taste until gently heated through. Garnish as desired. I like to drizzle some extra virgin olive oil, an extra touch of cream, and ground black pepper on top.
Optional: I use shredded white cheddar cheese for garnish, but you can add a generous amount to the cauliflower soup to add an element of cheesiness. So good!
Make Ahead and Freezing
Make ahead: Let the roasted cauliflower soup cool completely and refrigerate in sealed containers for up to 3 days. The soup will thicken overnight, so add extra dairy or broth when reheating. I’d recommend reheating in a pot over the stovetop.
Freezing: If freezing, omit the dairy. Freeze for up to 3 months. To reheat, thaw in the fridge overnight or reheat in a pot from frozen, adding extra broth as needed. Finish with heavy cream or milk.
Customize Your Soup
There are so many ways to add extra ingredients to this roasted cauliflower soup and make it even better! These are some of my favorite variations:
- Add bacon! I I love some chopped up crispy bacon with this roasted cauliflower soup.
- Make it cheesy: Add freshly shredded cheese, such as white cheddar. Avoid pre-shredded cheese since those come with added starches that can make the soup grainy.
- Pack in extra veggies, such as diced celery or leeks when cooking the onions.
- Lighten it up by using milk instead of cream. If doing this, I’d recommend using less broth and more milk instead to achieve the right consistency.
Roasted Garlic and Cauliflower Soup
Description
You'll love this roasted cauliflower soup! It's creamy and smooth, with the perfect consistency. Roasting the cauliflower and garlic boosts flavor, making it extra delicious.
Ingredients
Instructions
-
Preheat oven to 425 degrees F.
-
Roast the garlic: Cut off the top of the garlic head, exposing the cloves. Place on a sheet of aluminum foil. Drizzle the top with 1 tablespoon of olive oil, ½ teaspoon salt, and ¼ teaspoon black pepper. Fold up the foil and close tightly, creating a pouch. Roast on a sheet pan for 40 minutes until softened and golden brown.
-
At the same time, roast the cauliflower: On a large sheet pan, toss the cauliflower florets with ¼ cup olive oil, 1 teaspoon Kosher salt, and a few grinds of black pepper. Roast for about 35 minutes until softened and golden brown.
-
While these are roasting, boil the diced potatoes until soft and tender, about 20 minutes. Drain and set aside.
-
In a large pot or Dutch oven, melt 2 tablespoons of unsalted butter. Sauté the diced onions until softened, about 6 minutes. Then, add thyme for another 1-2 minutes until fragrant.
-
To the same pot, add the roasted cauliflower, cooked potatoes, and roasted garlic cloves (squeeze out the cloves and discard the skin). Stir in the vegetable broth, scraping to deglaze the brown bits. Tip: Use a wooden spoon to avoid scratching the pan.
-
Blend using an immersion blender, or transfer to a stand blender. Blend until smooth. Return soup into the pot (if you used a stand blender) and bring to a simmer. Simmer for 5 minutes, stirring. Season with salt and pepper to taste.
-
Add the cream and stir until warm. Adjust consistency to taste.
-
To serve, garnish with shredded cheese on top, and a few drizzles of olive oil and cream. I like to serve with a few toasted slices of baguette too. Enjoy!
Servings 6
- Amount Per Serving
- Calories 248kcal
- % Daily Value *
- Total Fat 19g30%
- Saturated Fat 6g30%
- Cholesterol 22mg8%
- Sodium 833mg35%
- Potassium 576mg17%
- Total Carbohydrate 17g6%
- Dietary Fiber 3g12%
- Sugars 6g
- Protein 4g8%
- Vitamin A 725 IU
- Vitamin C 72 mg
- Calcium 59 mg
- Iron 1 mg
* Percent Daily Values are based on a 2,000 calorie diet. Your daily value may be higher or lower depending on your calorie needs.
Note
- Stand vs. immersion blender: For this recipe, a stand blender will give you smoother results, but an immersion blender will work very well too.
- Prep ahead: The cauliflower and garlic can be roasted 2-3 days ahead and refriegrated until ready to make the soup.
- Make ahead: Prepare the soup as directed and let cool. Refrigerate in containers and reheat, adding extra broth of dairy as needed (it will thicken overnight).
- Freezing: Omit the dairy (dairy doesn’t freeze well) and freeze for up to 3 months. Thaw in the fridge overnight or reheat from frozen. Add the cream or milk when reheating.
Substitutions and variations:
- Heavy cream: Half-and-half, milk, coconut milk.
- Vegetable broth: Chicken broth.
Disclaimer: Nutritional values (per serving) are approximates only.


