Sweetened Condensed Milk Snowballs

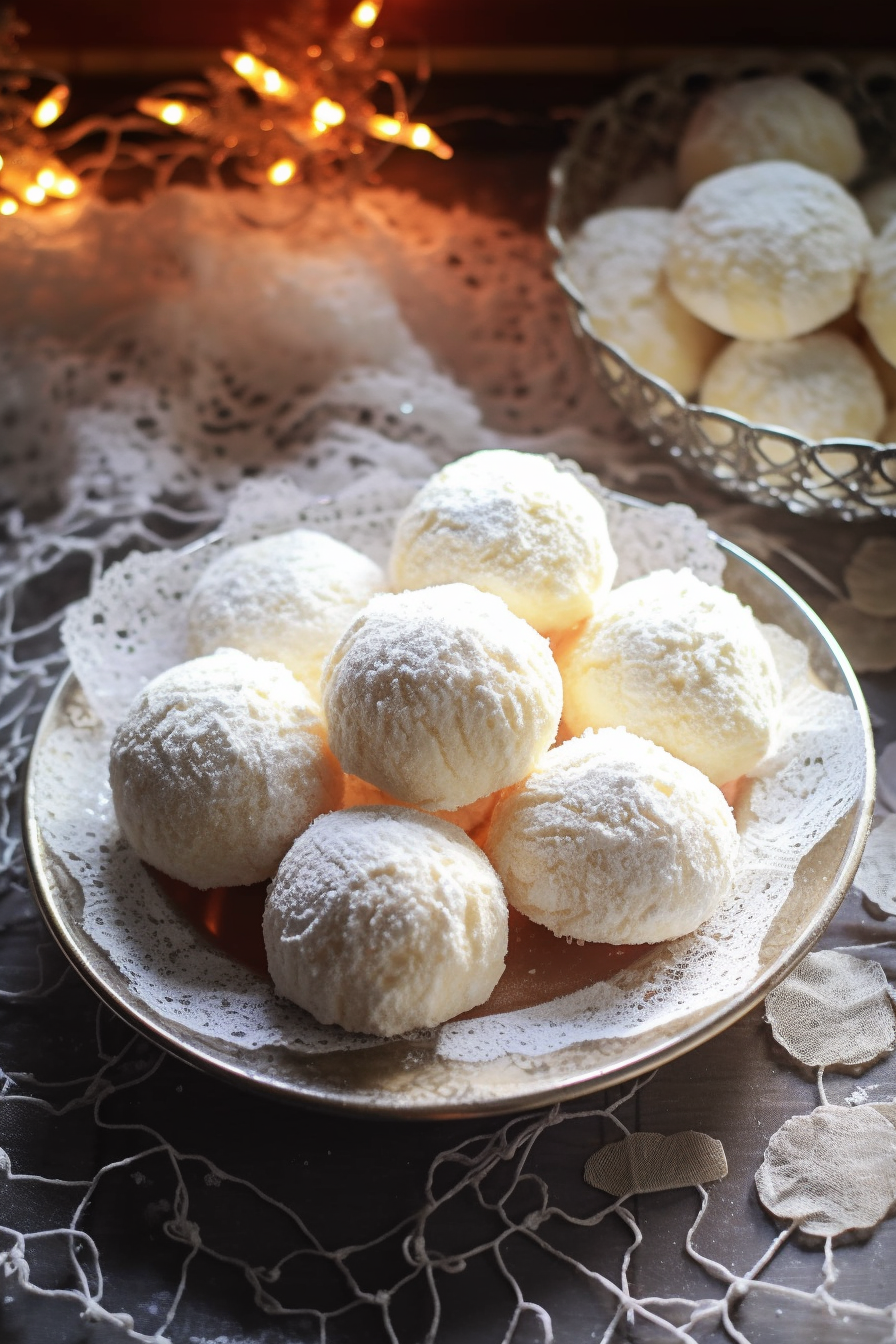
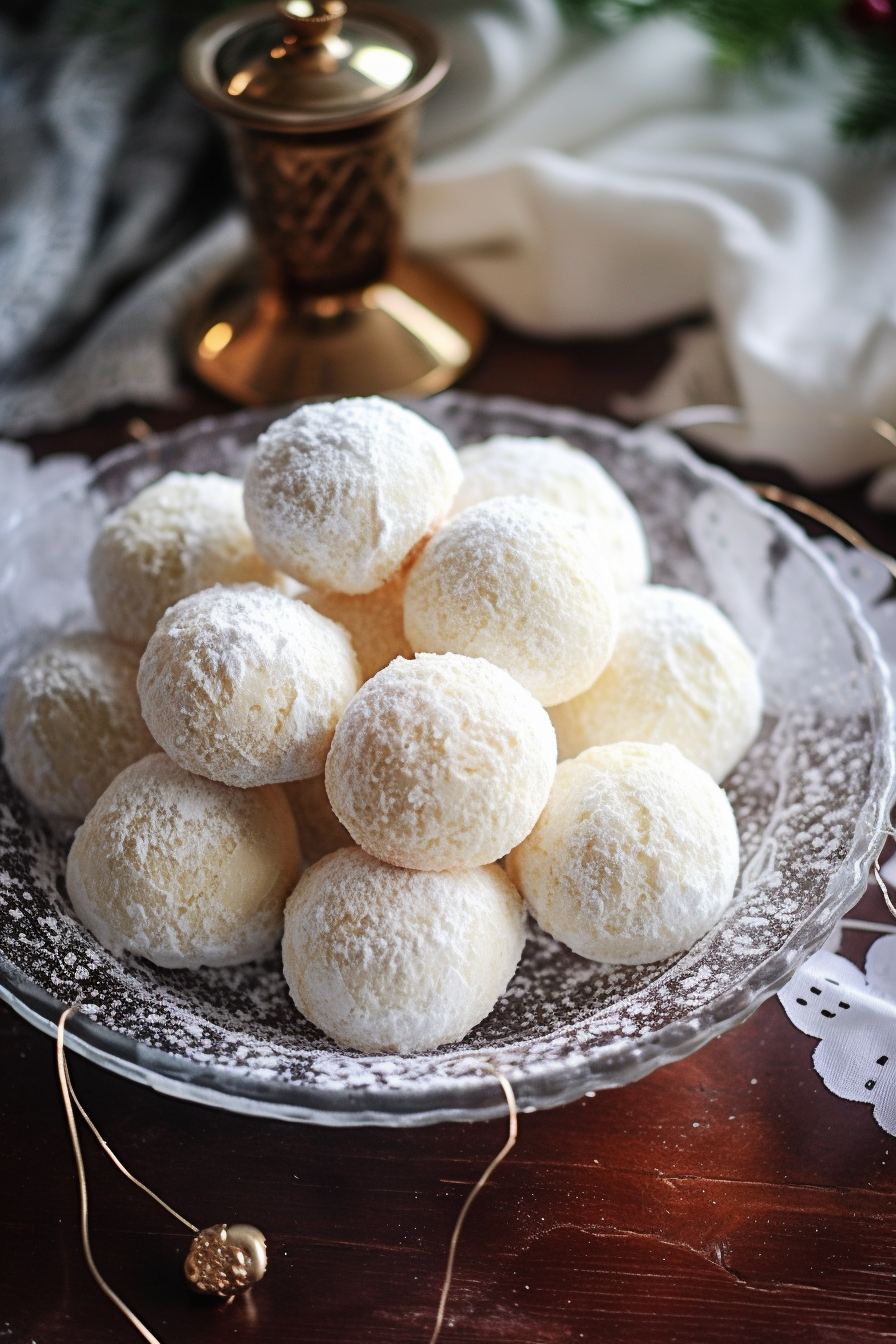
Dive into a world of simplicity with butter, sweetened condensed milk, all-purpose flour, baking powder, and confectioner’s sugar, crafting heavenly Sweetened Condensed Milk Snowballs.
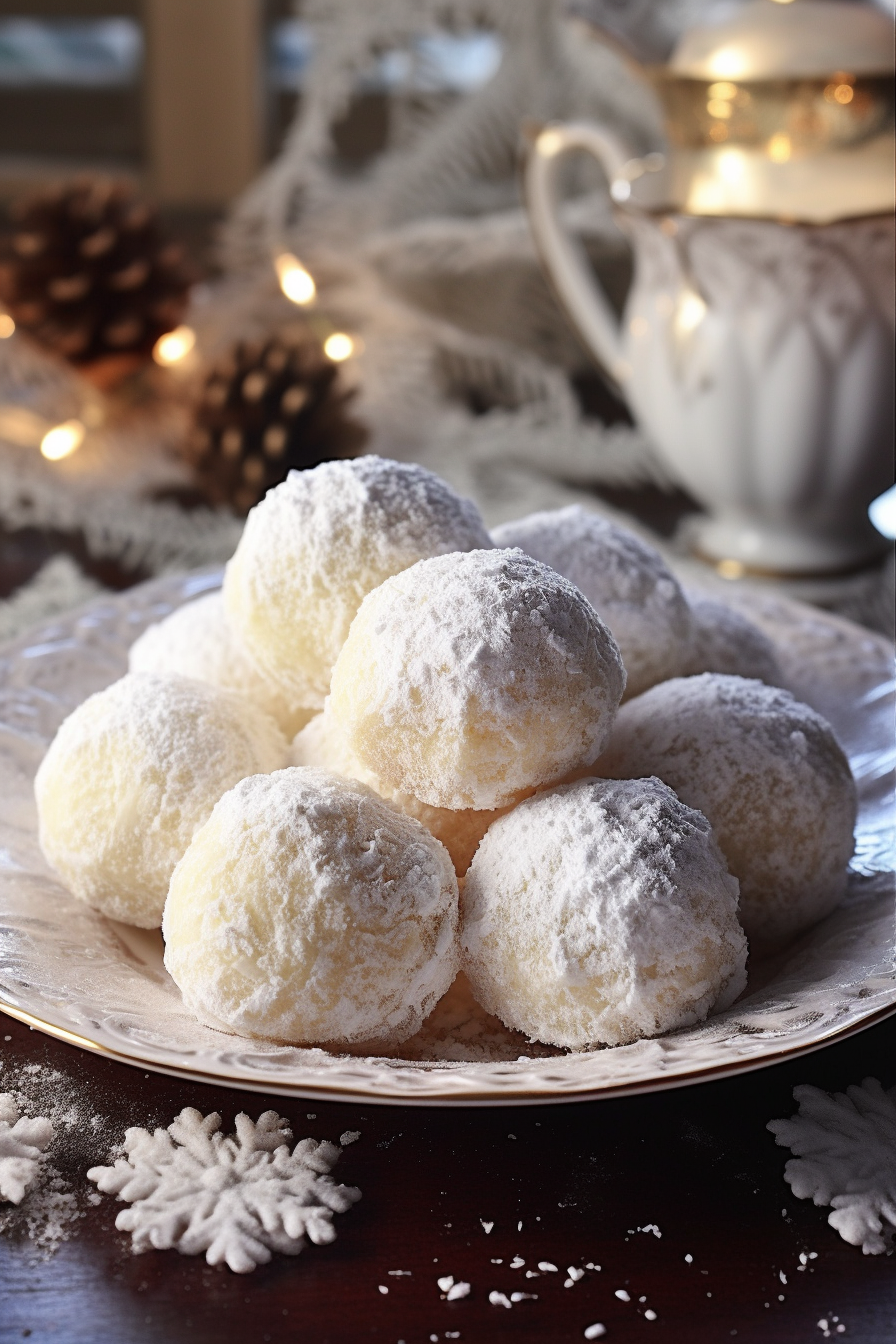
You know, there’s something about winter that just has me reaching for comfort, and not just in terms of chunky sweaters and thick socks! My grandmother used to make these Sweetened Condensed Milk Snowballs every winter. Their innocent appearance belies the burst of sweet delight they bring. I remember sneaking into her kitchen as a child, my little fingers reaching for just one more, their powdery white tops reminding me of fresh snow. Each bite was a flashback to snowball fights and cozy evenings by the fireplace. I’ve carried this tradition into my own home, and every chilly season, I find myself whipping up a batch, much to the delight (and, let’s be honest, slight addiction) of my own family.
Why You’ll Love Sweetened Condensed Milk Snowballs:
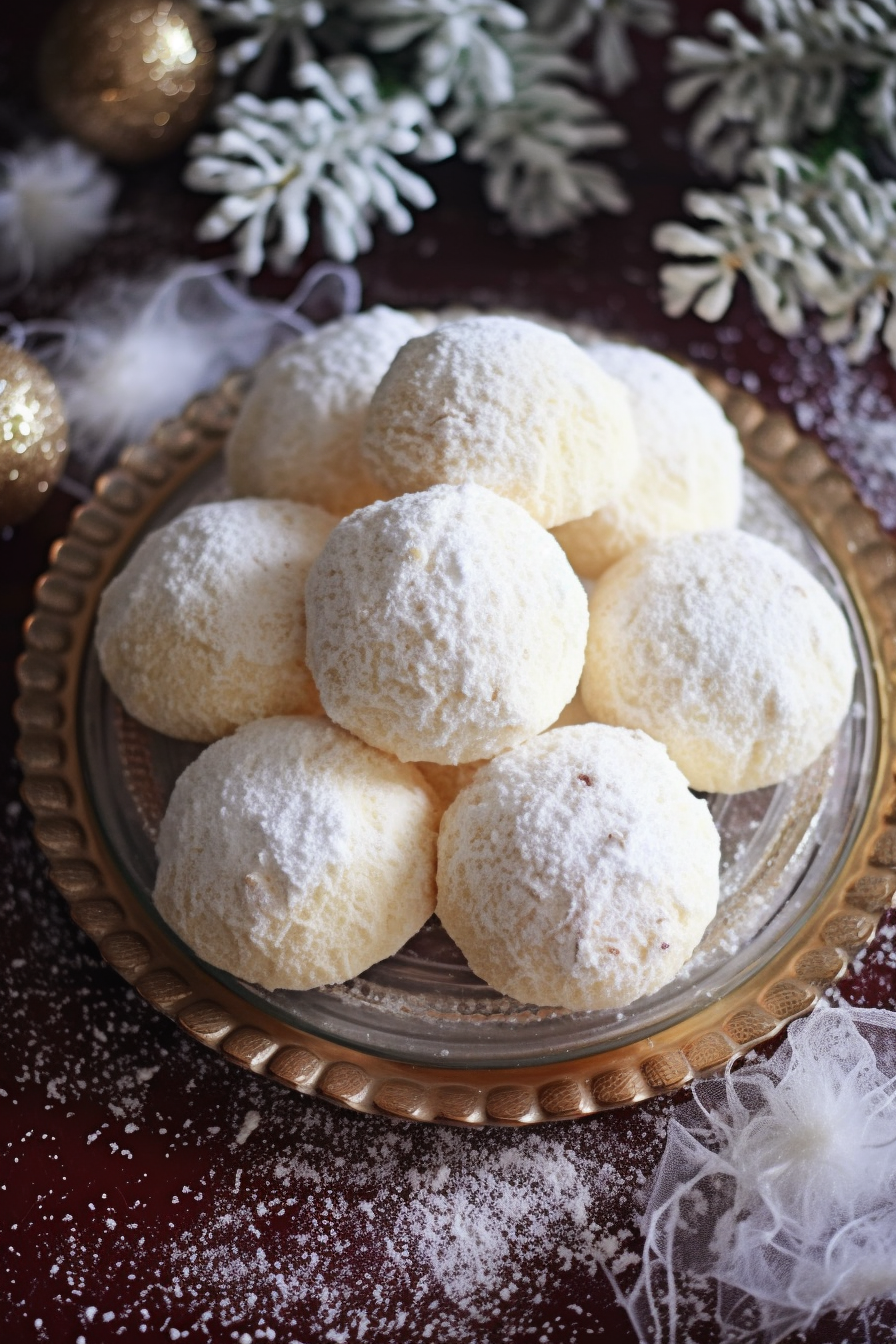
Alright, cookie monsters, let’s chat! These Sweetened Condensed Milk Snowballs are not just another pretty face in the vast cookie universe. They boast the elegance of simplicity with only FIVE ingredients. We’re talking minimal effort, maximum reward here. They’re light, just the right amount of sweet, and so darn budget-friendly. I mean, who doesn’t want to save some coin while still enjoying a treat that tastes like a million bucks? Plus, for those who like to get creative in the kitchen, they’re the perfect blank canvas for whatever toppings or mix-ins your heart (or taste buds) desire.
Ingredient Notes For Sweetened Condensed Milk Snowballs:
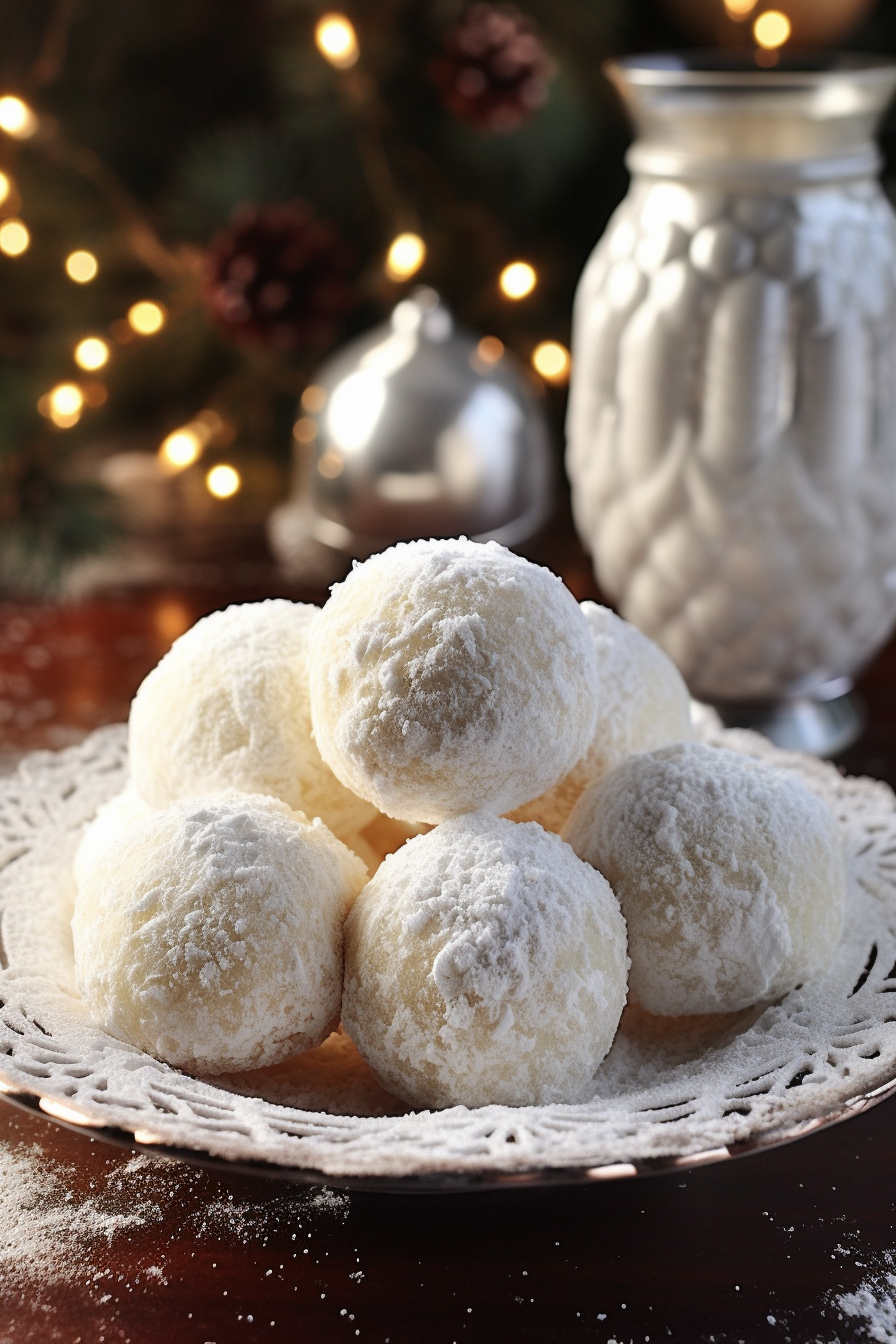
First up, butter! Make sure it’s softened. None of that straight-out-of-the-fridge brick stuff, okay? Next, the sweetened condensed milk. Yes, it’s the gooey nectar of the baking gods. As for the flour, all-purpose works wonders here, but feel free to venture into whole wheat if you’re feeling wild. Baking powder – it’s the little ingredient that could, giving our snowballs their rise. And lastly, confectioner’s sugar. This isn’t just for looks (although, chef’s kiss), it provides that snowy wonderland aesthetic and an extra kiss of sweetness.
How To Make Sweetened Condensed Milk Snowballs:
Begin with your softened butter in a mixing bowl. And by ‘softened’, I mean ‘melting-in-your-hands-like-a-warm-hug’ consistency. Beat that baby until it’s looking lighter than your mood on a Friday evening.
Pour in that sweetened condensed milk and let the mixer do its magic. This is where the real transformation begins. Oh, and if you’re adding any extract for an extra flavor punch, now’s the time! But remember, restraint is key – no more than 2 teaspoons.
Now, for our dry ingredients. Slowly mix in the flour and baking powder. Should you feel the urge to throw in some chocolate chips or perhaps cranberries, now’s your moment of glory.
Ready to shape these bad boys? Grab your cookie scoop and let’s make some mounds on a parchment paper-lined baking sheet. Social distancing applies here; keep them two inches apart.
Pop them in the oven for a short 12-minute tanning session at 320°F.
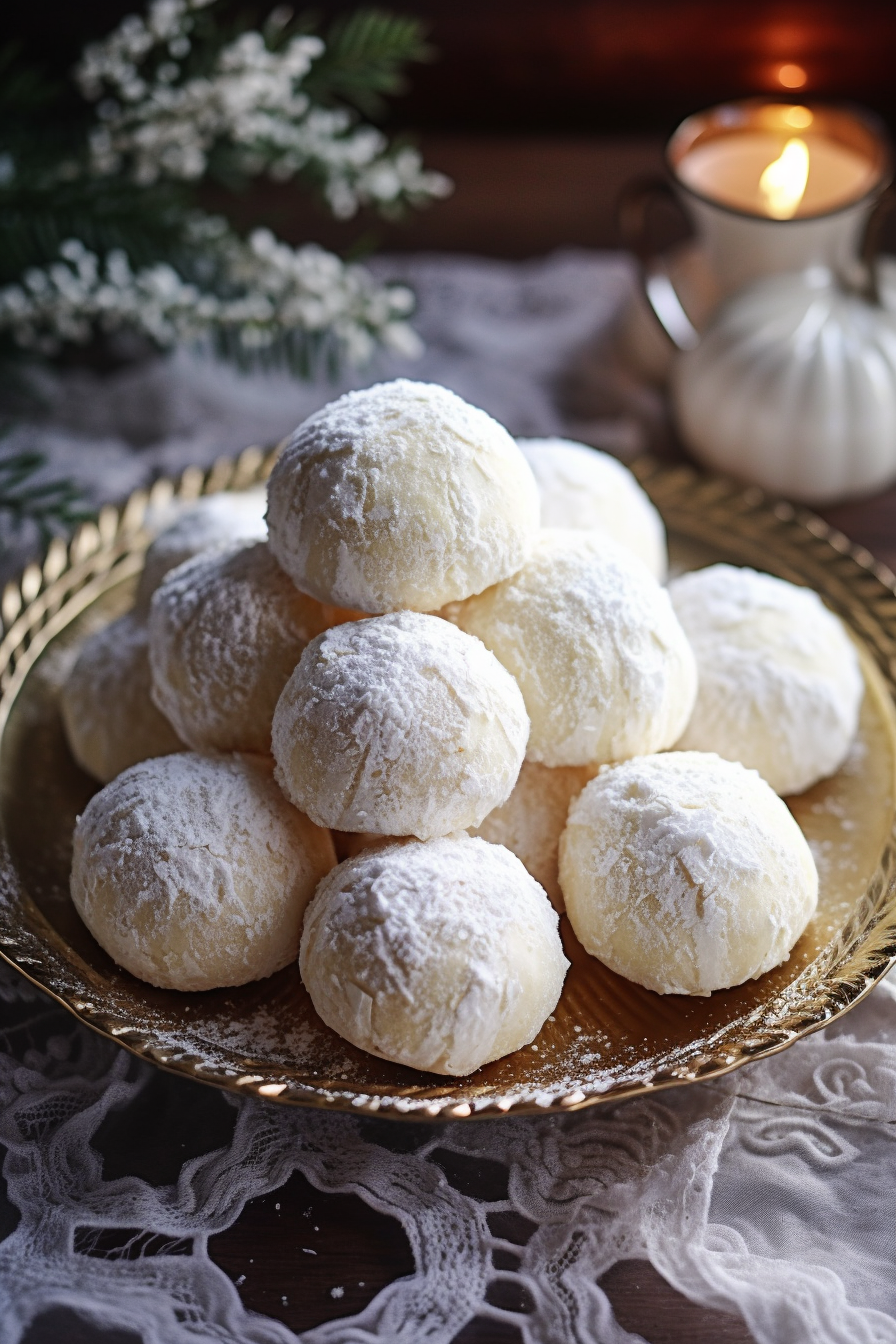
After their beauty bake, let them cool their heels for about five minutes. Then, give them a sweet snow shower with that confectioner’s sugar.

Storage Options:
So, you’ve baked a batch (or three, no judgment) and are wondering how to store these snowy delights? Simple. Once cooled, store them in an airtight container. They’ll happily hang out at room temperature for up to a week. But, if by some mysterious force they’re still around after that, you might want to consider sharing. Just a thought.
Variations and Substitutions:
Fancy a change? For a zesty twist, add some lemon or orange zest to the dough. If you’re out of all-purpose flour, whole wheat can work in a pinch. And for those with a chocoholic streak, why not add cocoa powder for a chocolaty snowball? The world’s your oyster, or in this case, your snowball. Let your imagination run wild!
And there you have it, folks! Happy baking, and may your winters be as sweet as these snowballs.
Dive into a world of simplicity with butter, sweetened condensed milk, all-purpose flour, baking powder, and confectioner's sugar, crafting heavenly Sweetened Condensed Milk Snowballs.
- 1 cup of butter adequately softened
- 1/2 cup of sweetened condensed milk
- 2 cups of all-purpose flour
- 3 teaspoon of baking powder
- 1/2 cup of confectioner’s sugar
- In a standard mixing bowl, commence by incorporating the softened butter. Using a mixer, beat the butter until it attains a light and creamy texture, approximately for three minutes.
- Subsequently, integrate the sweetened condensed milk with the butter mixture. Beat this amalgamation for a further two minutes. If there’s any optional extract being utilized for flavor enhancement, it should be added at this juncture, ensuring it does not exceed 2 teaspoons.
- Scrape the sides of the bowl to ensure uniform consistency, then continue the beating process for another minute.
- Gradually introduce the all-purpose flour and baking powder to the mixture. Ensure a smooth and even blend by beating until all components are thoroughly combined. If there’s a desire to incorporate additional elements such as chocolate chips or cranberries, they should be added now, ensuring the quantity does not exceed 1 cup.
- Use a standard cookie scoop to portion the dough. Place these portions onto a baking sheet lined with parchment paper. It is crucial to ensure a minimum of two inches between each dough portion to avoid merging during the baking process.
- Bake the dough in a preheated oven at a temperature of 320°F for a precise 12-minute duration.
- Once baked, remove the cookies from the oven and allow them to cool slightly on the baking sheet for a duration of five minutes.
- Carefully transfer the cookies to a wire rack for further cooling. Once the cookies have adequately cooled, sift the confectioner’s sugar over them for a refined finish. It’s essential to ensure the cookies are completely cooled before they are stored.
This recipe has been structured with precision and detail to ensure an optimal outcome. Follow the instructions meticulously for the best results.
NB: COOK MODE: PREVENT YOUR SCREEN FROM GOING DARK
